

Recording and picking elements
Two tools open the application under test in a real browser that you drive:
- Record turns what you do (clicks, typing, choices) into test steps.
- Pick fills in the target of one existing step by letting you click the element.
Where the browser opens
Section titled “Where the browser opens”| Your setup | Where the browser appears |
|---|---|
| The AutoTestX server runs on your own computer | On your screen, directly |
| AutoTestX is hosted (e.g. on a cloud server) | On your computer, through the AutoTestX Agent |
A hosted server has no screen, and usually cannot reach applications behind your company VPN. The agent opens the browser on your machine instead. If the agent is needed and not running, the dialog shows Set up the AutoTestX Agent with a download link and waits until it connects.
Recording a test
Section titled “Recording a test”-
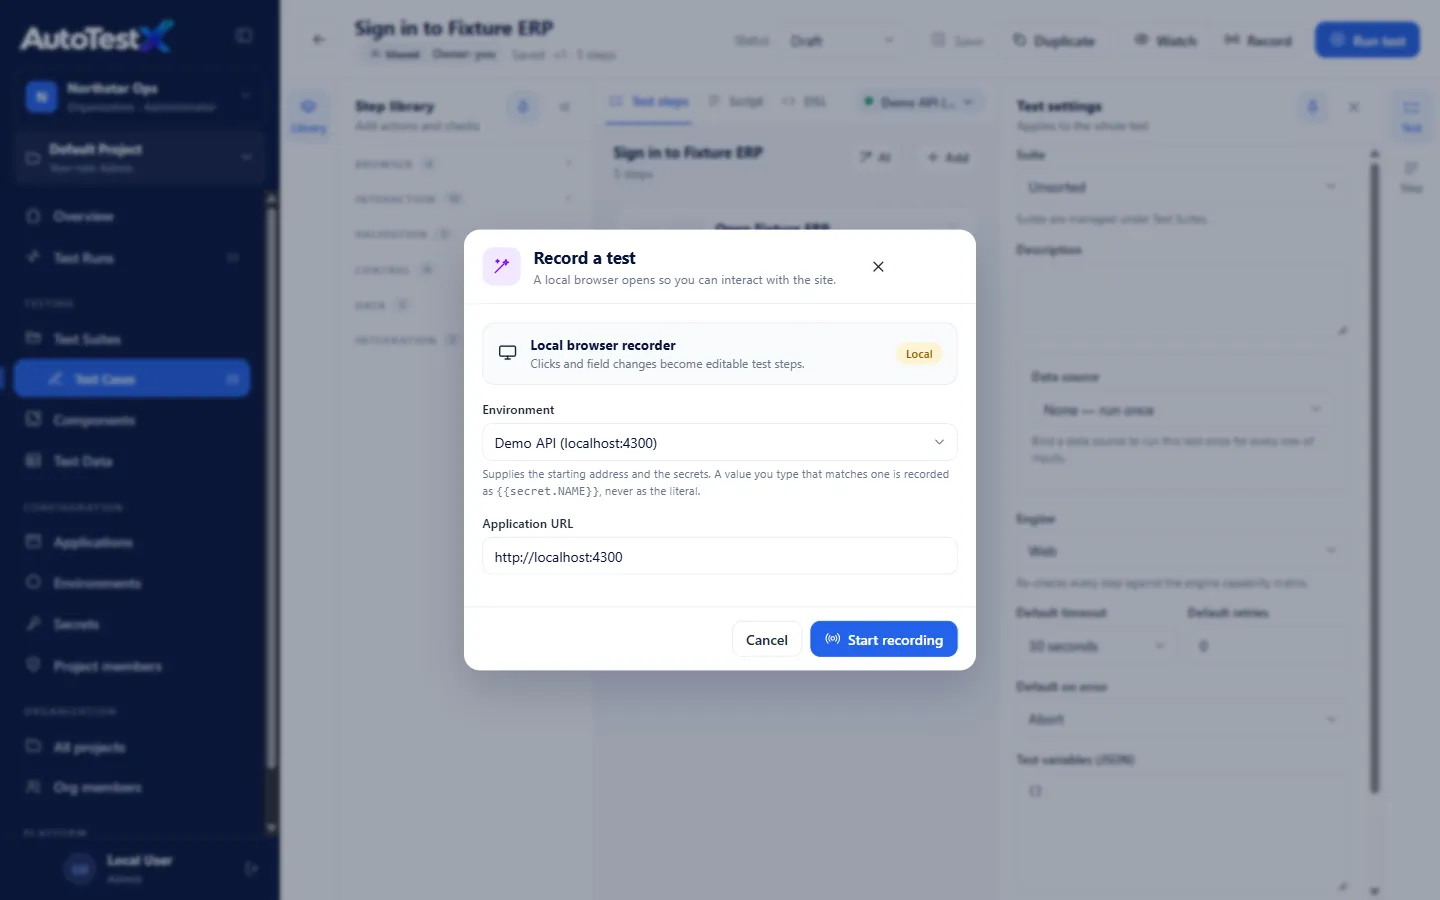
Open the test and choose Record in the toolbar.
-
Choose the Environment. It provides the starting address (
baseUrl) and the secrets. -
Check the Application URL. It is filled from the environment. You can type another address; Use it instead switches back to the environment’s.
-
Choose Start recording. A browser opens at that address with a control bar in the bottom-right corner.
-
Use the application as normal. Each action becomes a step, and the dialog counts them.
-
When you are done, choose Stop & return in the browser’s bar (or Stop recording in the dialog).
-
Review the captured steps and the screenshot of where you stopped. Choose Add n steps to append them to the test, or Cancel to throw them away.
-
Review the steps in the editor and Save. Recorded steps are not saved until you save.
The control bar in the browser
Section titled “The control bar in the browser”| Button | What it does |
|---|---|
| Pause / Continue | Pause recording, e.g. while you navigate to the screen you want to start from. Nothing is recorded while paused. |
| Add check | The next element you click becomes an assertion instead of a click: Text if it has visible text, Visible otherwise. Choose Cancel pick to back out. |
| Hide | Hide the bar |
| Stop & return | Finish and return to AutoTestX |
The bar also shows the number of steps and the last action captured.
What gets recorded
Section titled “What gets recorded”| You do | Step recorded |
|---|---|
| Open a page | Open |
| Click | Click |
| Type in a field | Type |
| Choose from a dropdown | Select |
| Tick a checkbox or radio | Check |
| Choose a file | Upload file |
| Hover to open a menu | Hover |
| Press Enter, Tab and so on | Press key |
| Use a lookup / picker dialog | Lookup (see below) |
| Add check then click | Text or Visible assertion |
| The application shows a message (toast, banner, validation text) | A Text assertion on that message, added automatically |
Secrets are never recorded as text. If you type a value that matches a secret in the
chosen environment, the step stores {{secret.NAME}}, not the value.
Every element is fingerprinted. For each element the recorder stores several locators in order: a unique id, then a unique name, then an XPath anchored at the nearest element with an id, then semantic locators (role, label, text). It also stores a fingerprint (role, label, text, position, ancestors). If the first locator stops working later, the next one takes over and the step is reported as degraded. See Element targets.
Actions are not lost on navigation. Each action is buffered in the page before it is sent, so a click that moves to another page is still recorded.
Recording lookups
Section titled “Recording lookups”Many business applications (Maximo, ERP systems) open a lookup dialog to choose a value: a list with search, paging and OK / Cancel. The recorder recognises these and records one Lookup step instead of a dozen clicks:
- the opener (the button that opens the lookup) becomes the step’s target,
- what you typed in the search box becomes setup steps inside the lookup,
- the value(s) you chose become the step’s values, found again by their text on replay, never by row position,
- paging and clicks are kept as history for reference, not replayed.
If the recorder cannot find a Next page control by itself, the bar asks “Does this lookup support multiple pages?” Answer Yes, then click the lookup’s Next button, so replay can search later pages.
After recording, adjust the lookup in Step properties: how it completes (Choosing a value closes it, Select values, then OK, Cancel), match mode, column, and paging behaviour. See the Lookup step.
Picking one element
Section titled “Picking one element”Use Pick when a step’s target is wrong or empty.
-
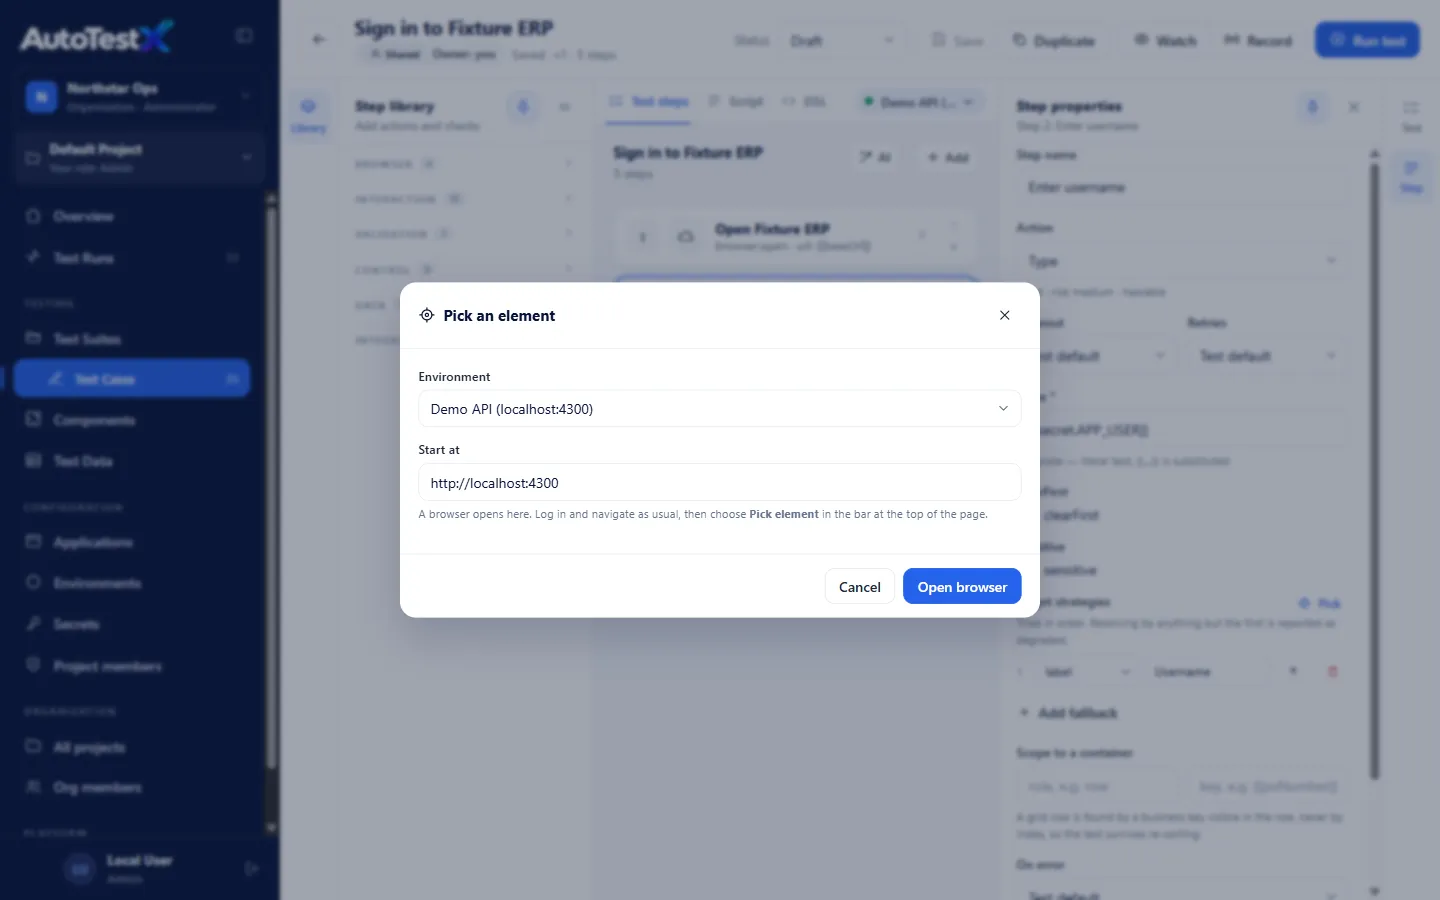
Select the step, open its properties, and choose Pick beside Target strategies.
-
Choose the Environment and the Start at address, then Open browser.
-
The browser opens in Browsing mode. Sign in and navigate as usual.
-
Choose Pick element in the bar at the top of the page. In Picking mode, hovering highlights elements and clicking picks one. Esc returns to browsing.
-
The dialog lists the locators found for the element, the first marked primary. Elements inside an iframe show their frame path.
-
Choose Use these locators. The step’s target is replaced with them, plus a fresh fingerprint. A Scope to a container you set by hand is kept.
-
Save the test.
- Pause before you navigate to the starting screen, so the test does not include steps it does not need.
- Use Add check at the end of each meaningful action. A test that only clicks proves little.
- Rename recorded steps to business language (“Save the purchase order”). Names appear in reports.
- Replace typed test values with variables (
{{vendor}}) or data columns ({{data.vendor}}) to make the test reusable.