

Installation
This page gets an AutoTestX server running on your own computer. To set up a shared server for a team, follow this page first to try it out, then see Deployment.
Requirements
Section titled “Requirements”| Node.js | 20.11 or newer (node --version) |
| npm | the version that comes with Node.js |
| Operating system | Windows, macOS or Linux. The optional AutoTestX Agent is Windows-only. |
| Disk | about 1 GB, including the Chromium browser Playwright downloads |
Install
Section titled “Install”From the project folder:
npm installnpx playwright install chromiumnpm run build:webnpm installinstalls every package in the workspace (packages/*).npx playwright install chromiumdownloads the browser that runs your tests.npm run build:webbuilds the web application the server hosts. Run it again after you update AutoTestX.
Start the server
Section titled “Start the server”npm startOpen http://127.0.0.1:4100 in your browser. You will see the sign-in page.
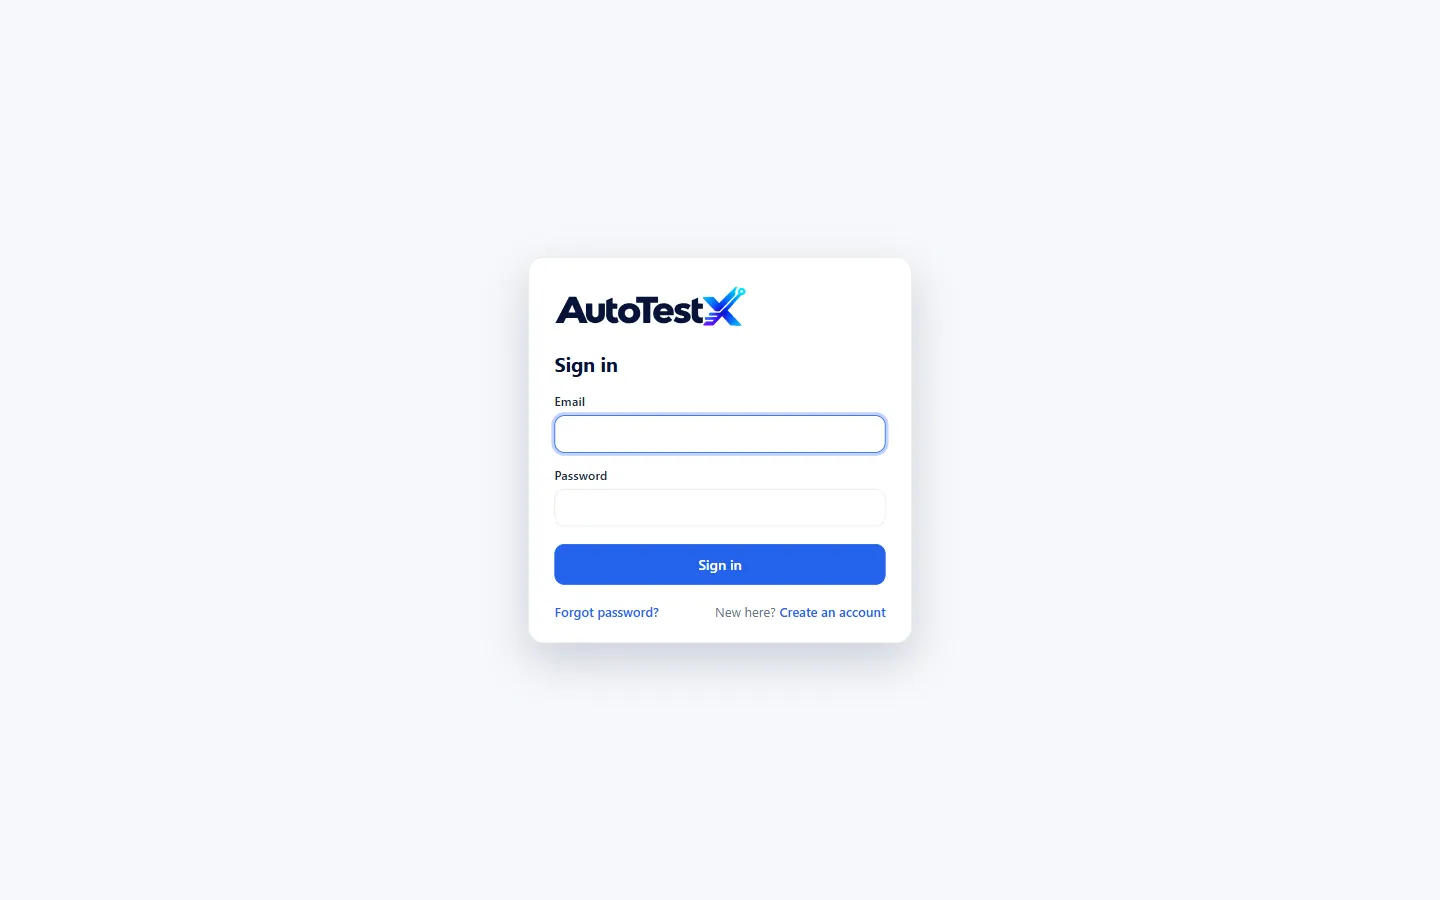
The server keeps running until you stop it (Ctrl+C in its terminal). Everything you
create is stored as files in the .data folder next to the project. See
Data, backup and seeding.
Useful start-up options
Section titled “Useful start-up options”Set these as environment variables before npm start. The full list is in
Configuration.
| Variable | Default | Use it to… |
|---|---|---|
PORT |
4100 |
run on another port |
HOST |
127.0.0.1 |
listen on another interface |
ATX_DATA_DIR |
./.data |
keep data somewhere else, e.g. a second, separate installation |
ATX_HEADED |
off | set to 1 to show the browser for every run (debugging) |
ANTHROPIC_API_KEY |
not set | turn on Write with AI |
PowerShell example (a second instance with its own data on port 4150):
$env:PORT = "4150"; $env:ATX_DATA_DIR = ".data-trial"; npm startOptional: the demo API
Section titled “Optional: the demo API”The API testing, data-driven and custom code examples call a small demo API. Start it in a second terminal when you want to run those examples:
npm run demo:apiIt listens on http://localhost:4300.
Check the installation (optional)
Section titled “Check the installation (optional)”npm testThis runs the unit tests and a smoke test of the browser injection code. All of them should pass.